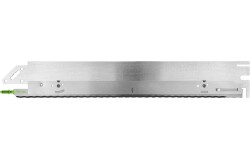
Cutting insulation between rafters with the ISC 240 insulation saw

Description
Tools/accessories
Preparation/set-up
-
Changing the cutting set
It may be necessary to use the longer cutting set for inclined cuts. If necessary, change the set according to the instructions in the operating manual.

Procedure
-
Measuring the compartment width
Measure the compartment width and add extra for better clamping (1 cm here).

-
Adjusting the angle stop width
The required dimension can be read off the scale and fixed accordingly.

-
Cutting insulating material to size
Position the insulation between the rafters on the stop tab and cut the insulating material with the ISC using the guide rail slide.

-
Measuring the remaining dimension for the middle of the pipe

-
Removing the bevel

-
Positioning dimension and cutting into the insulation between rafters
Here, the insulation between the rafters is cut directly to transfer the dimension (up to the middle of the pipe). Alternatively, a permanent marker (Edding) can be used instead of cutting to make the markings.

-
Positioning for bevel cut
Position a bevel at the previously made incision or marking and likewise cut into it.

-
Making the bevel cut
A board can now be used as a guide to cut into the insulation between the rafters.

-
Making the bevel cut
An exact bevel cut can also be produced without a guide frame.

-
Marking the pipe position
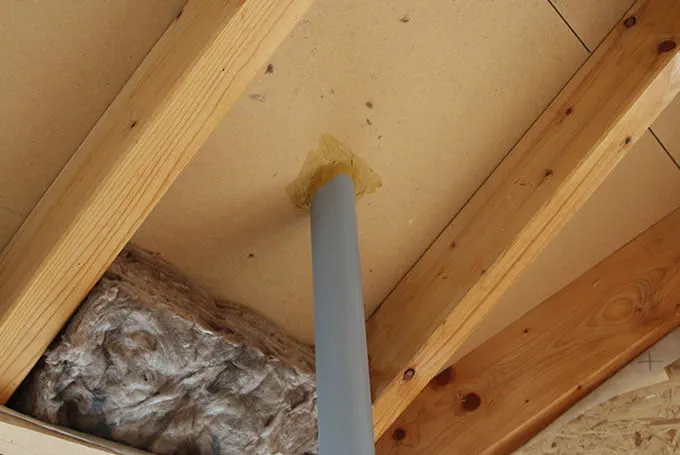
Insert the insulating material and mark the pipe position with a pen.

-
Transfer the markings to both insulating material halves
Position both pieces next to each other and transfer the markings.

-
Marking the circles

-
Finished marking
Finished marked insulating material

-
Cutting insulation between rafters
Cut out the insulating material freehand at the corresponding place and repeat on the counterpart.

-
Cut out insulating material

-
Inserting the insulating material

-
End results
After cutting the insulation between the rafters, the pipe passage ideally looks like this.


